
To be honest, I get it. I understand why someone wouldn't enjoy these things... I mean I think most of what makes these things is synthetic and not technically even real food. I still enjoy them, go ahead and judge me, I do.
So I thought I would make a homemade snowball and see if I could sway my friend into enjoying this with me, here goes.
I started by make a chocolate genoise cake, this makes such a soft "sponge" I thought it would be perfect for how I was going to use it
Chocolate Genoise
1/2 stick unsalted butter
3/4 cup ap flour
1/4 cup cocoa
1/2 tsp salt
1 cup sugar
6 large eggs
1 tsp vanilla extract
Pre-heat oven to 350
Prepare 9 inch round pan (I usually just spray with Pam, liberally)
Melt the butter, set aside.
Sift the flour, cocoa, and salt into a big bowl
Whisk the eggs and the sugar in a kitchen aide until well combined. Then, place the bowl over a sauce pan of simmering water, making sure that the water does not touch the bowl. Now whisk constantly (this is a true labor of love...) until it is warm to the touch, remove from heat and let the kitchen aide do its magic and beat at medium speed until the eggs are pale colored, and full of volume. About 6-8 minutes.
Beat in the vanilla extract. Remove from mixer and take a hefty portion of the eggs (about 1 cup) and stir into the melted butter.
Then slowly sprinkle the flour mixture into the batter on slow just until incorporated. Add the melted butter/eggs back into the batter, gently folding it in. You don't want to take any of the volume out of the batter.
Pour gently into prepared pan and bake for about 35 minutes, it should bounce back when gently pressed with a finger. A clean finger preferably.
Once the cake has cooled in the pan, turn out and let cool to room temp. Then wrap up in saran wrap and let chill in the fridge for at least an hour.
Slice of the top of the cake where it is round and do not throw this away or eat it, you need it.
Then slice the cake into 4 (thin) layers, this is done best with a serrated knife and a turntable.
Take one of the cake rounds and cut it into 8 pieces like a pizza

Then line a 9 inch round bowl with saran wrap so that there are long edges of saran wrap hanging over the bowl. Place the triangle pieces all along the bowl. This can be a little bit of a bitch. Just keep in mind, you work the cake, don't let the cake work you. If there are some spaces in between, just use that top part of the cake I told you to keep and rip pieces of it and just press into any showing spaces so that the bowl is fully lined with the chocolate cake.
 See how the saran wrap hangs below the bowl? This will make getting out of the bowl super easy. Next take your favorite raspberry jam and liberally spread all over the cake, then put into the fridge.
While its chilling, take a pint of heavy cream, add 1 Tablespoon powdered sugar, 1/2 tsp vanilla bean paste (or scrape out the inside of a vanilla bean) and add 2 Tablespoons of Raspberry Kirsch and whip heavy cream up to stiff peaks.


Cover with saran wrap and let chill.
While it is chilling, make the marshmallow topping.
1/2 cup water
2 tsp unflavored gelatin
1 1/2 sticks of butter, at room temp
2 teaspoons vanilla extract
1/4 tsp salt
4 cups of Fluff
Dissolve the gelatin in a microwave safe bowl with the water until is soft. (at least 6 minutes)
Microwave the gelatin mixture until it is bubbling, this really varies on your microwave oven, for mine it took about 45 seconds. Stir in butter, vanilla and salt till combined. Once this has cooled till it is just warm to the touch, add the fluff, whisk until it is well mixed and no lumps of anything. This is a bitch, but hang in there, it will come together. Cover and let chill in fridge.
For the original snowballs, the coconut "substance" that is used is not toasted, but I thought that it could use some crunch. So I died some coconut pink (about 2 cups, just put coconut in a food processor add a couple drops of red food coloring and grind away)

Now invert the cake onto a plate

Next, using a rubber spatula, mix up the marshmallow spread so that it is spreadable.
Then slather all of that marshmallow goodness all over the cake

Immediately cover with the toasted pink coconut
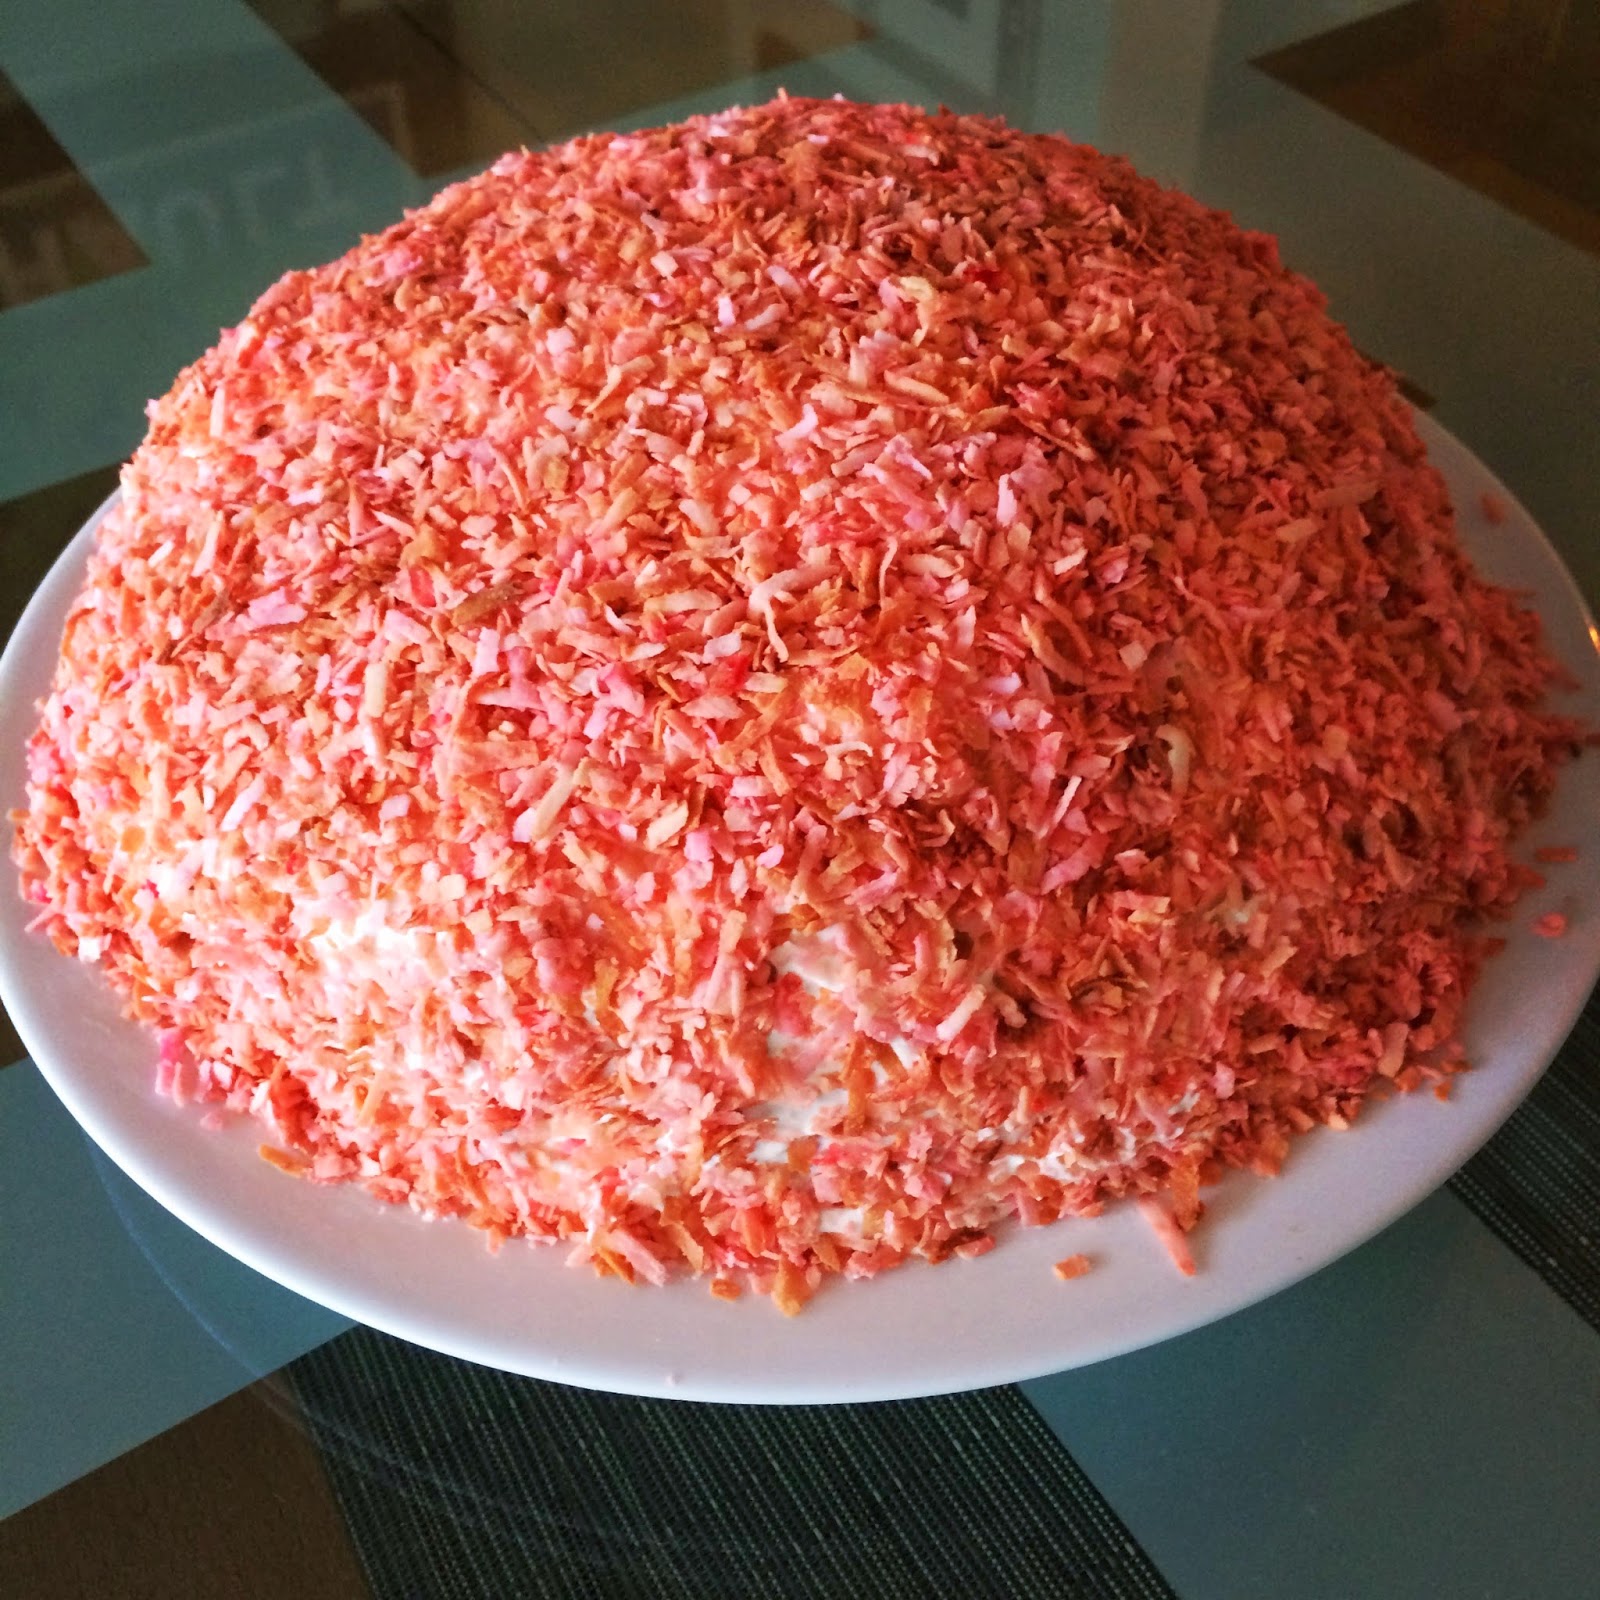
Call your bff over and enjoy this snowball and say good bye to winter.
Enough with the snow and cold already!

No comments:
Post a Comment